Uncategorized

Rethinking Uses for Annuals.

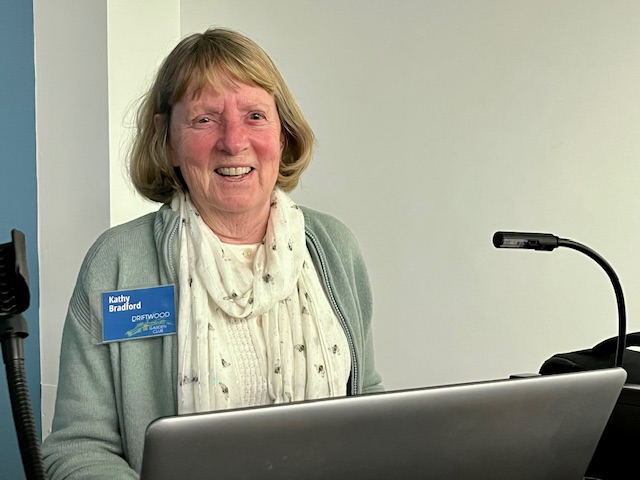
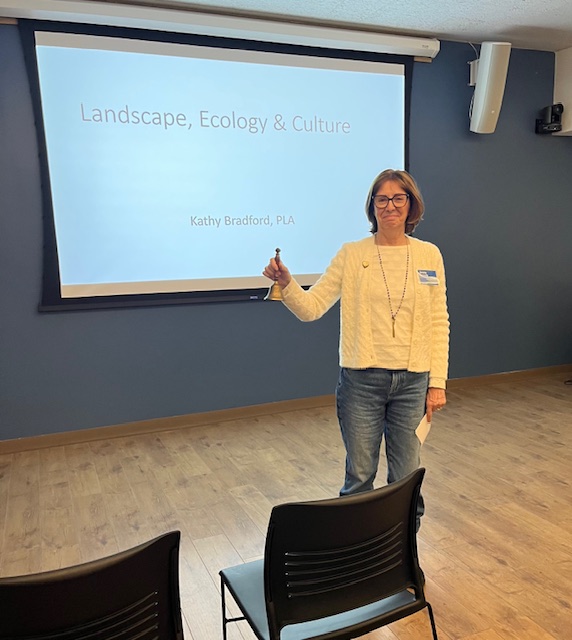
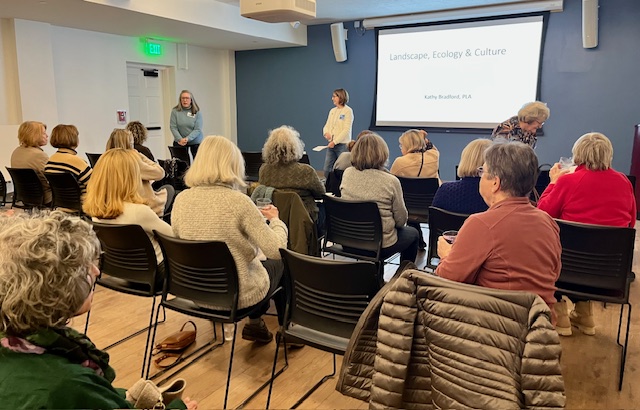
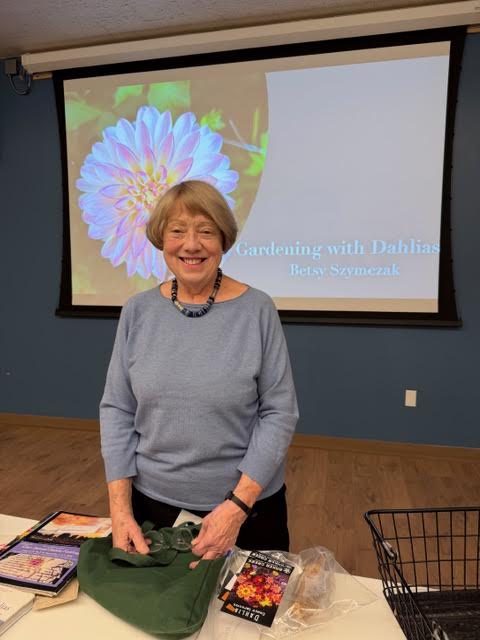
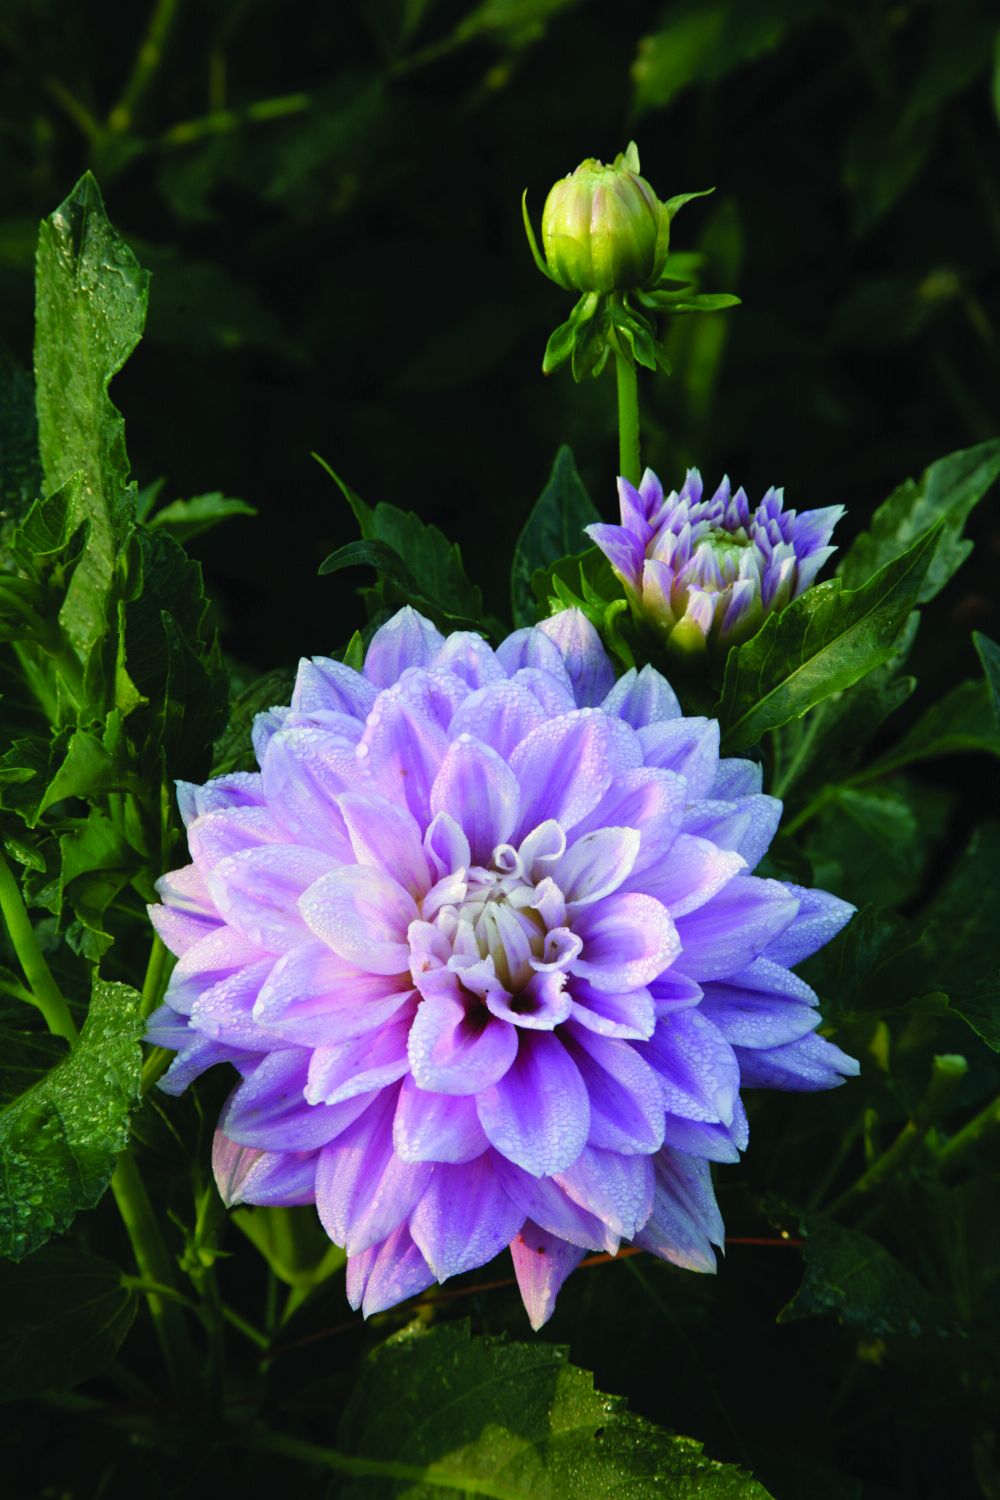
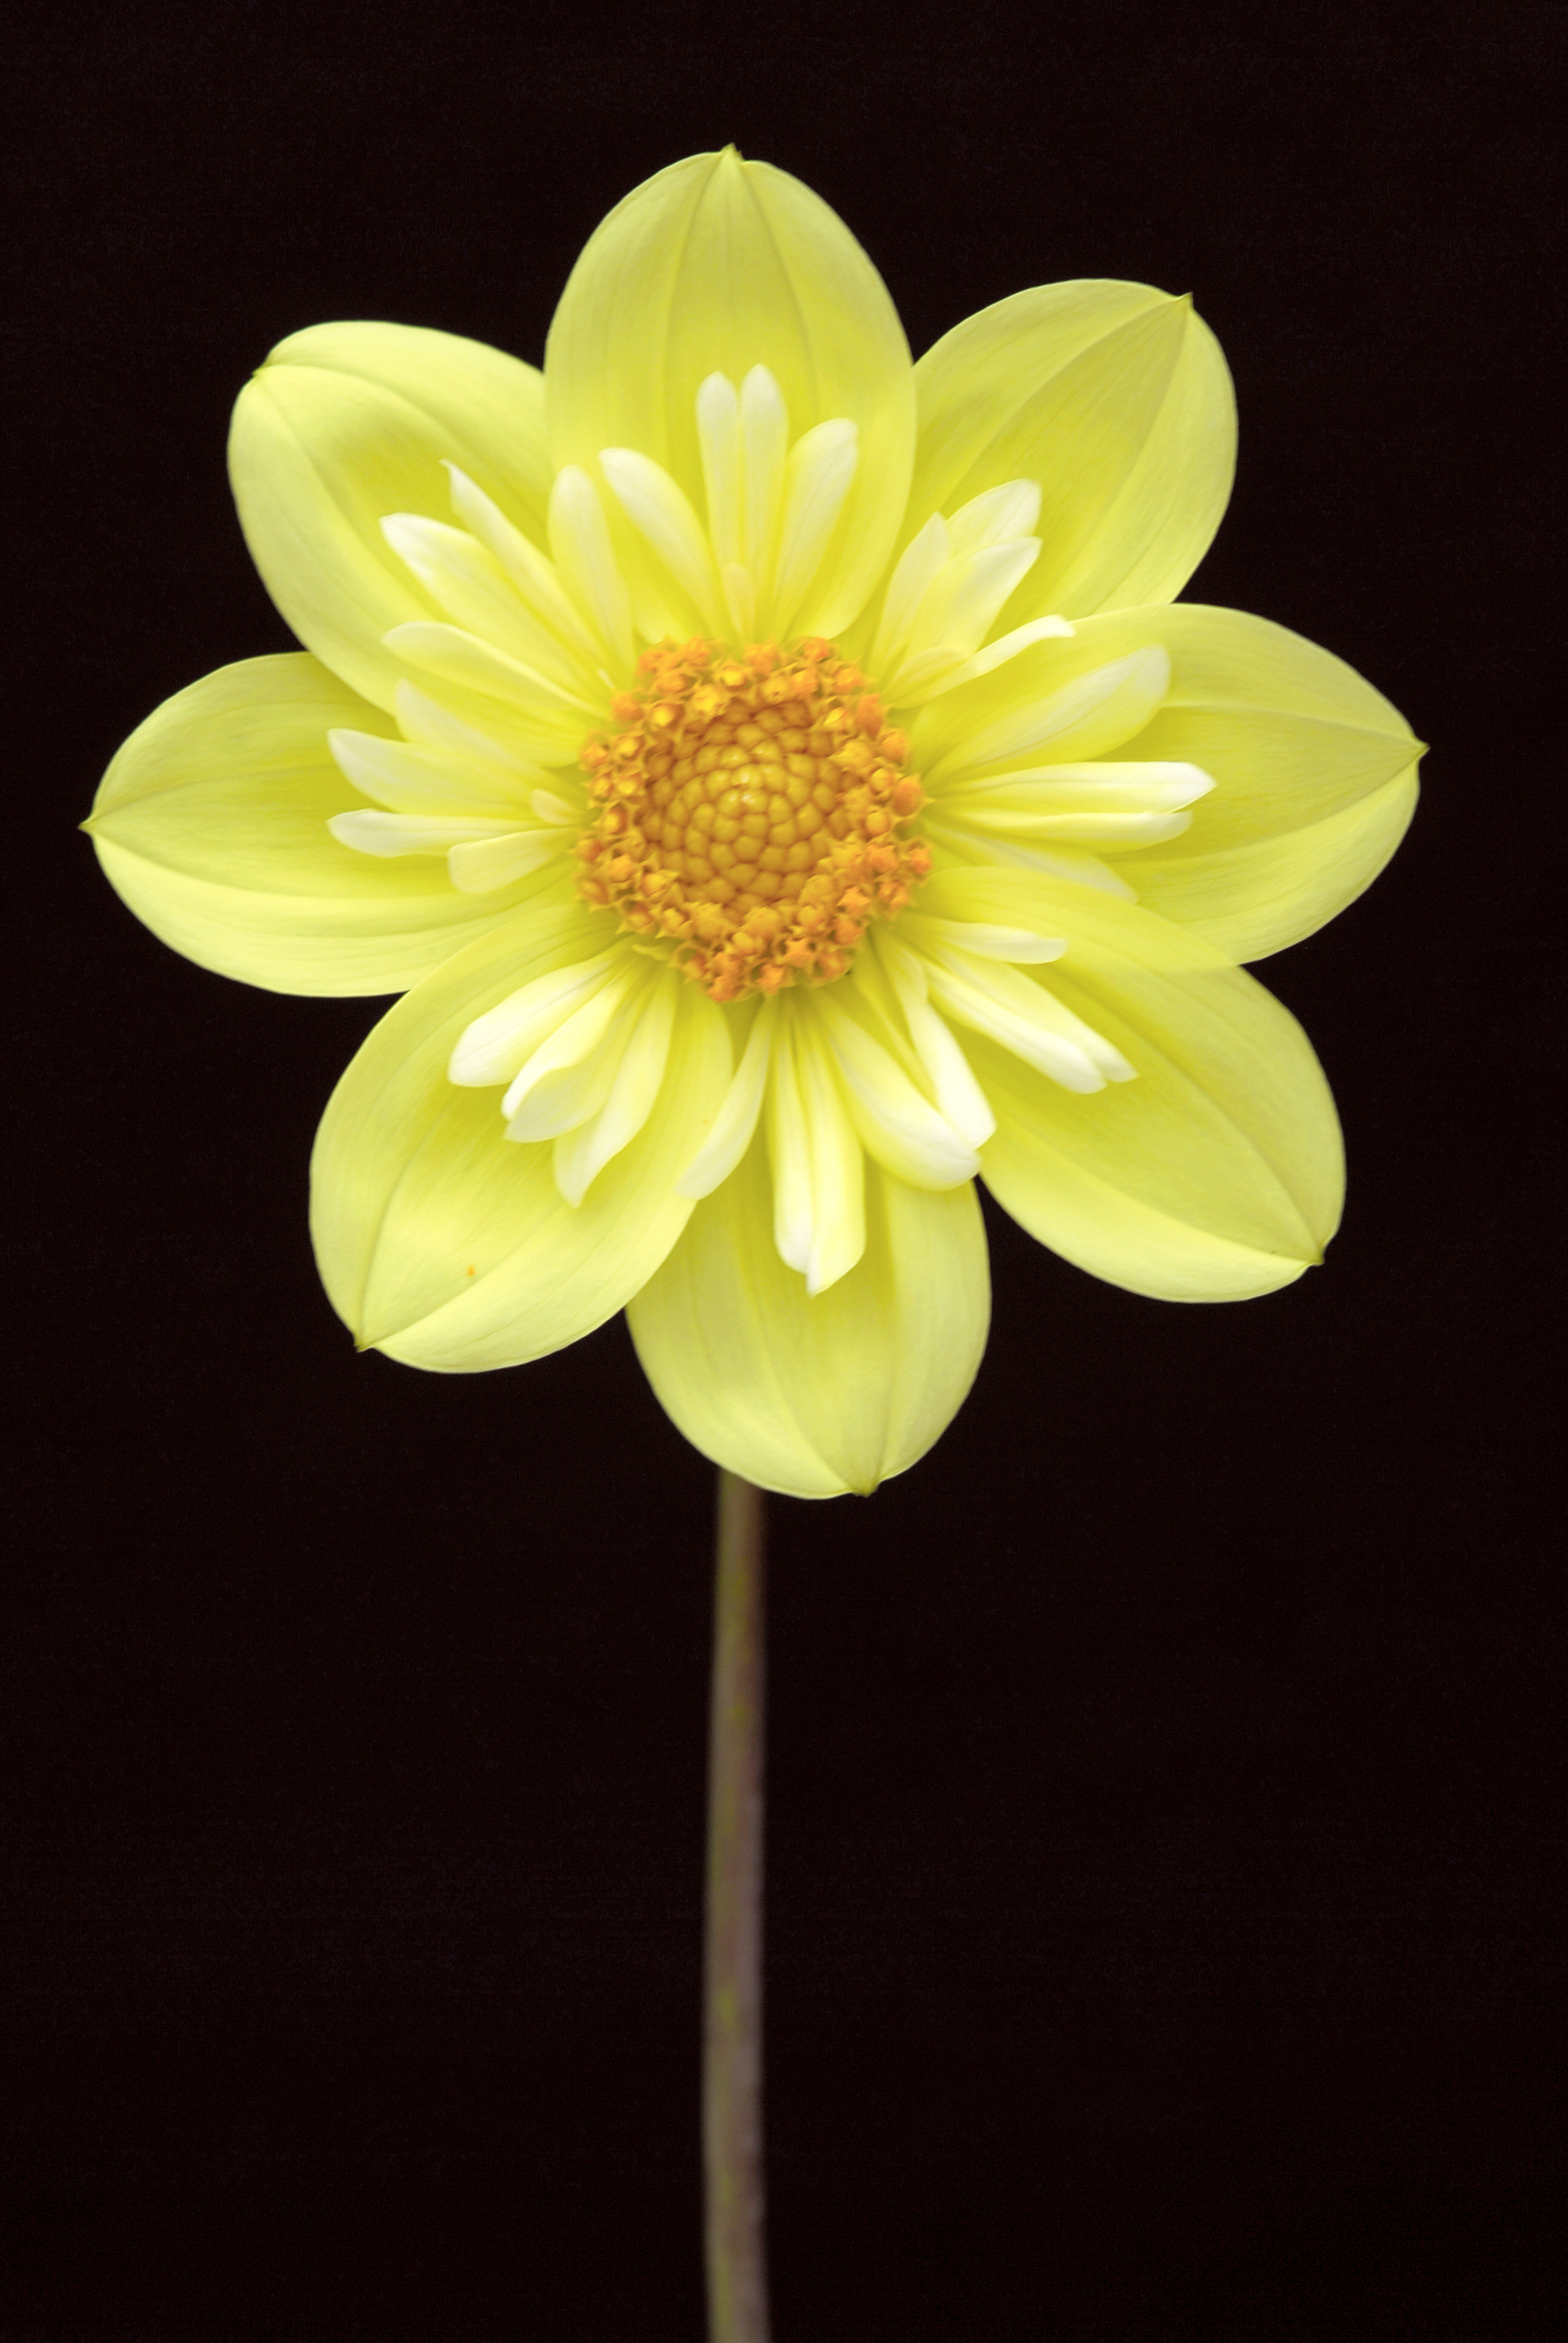
Most gardeners are well-aware of the importance of perennials in our gardens (especially native perennials), but our March speaker was here to remind us of the importance and various uses of annual plants. Sally McGuire Muspratt holds a graduate certificate in Landscape Design from Radcliffe College and has spent her career designing gardens that showcase both. As she told us, “The definition of a perennial is a plant that, if it had lived, would have come back every year,” which made us all laugh. There is definitely a need for both annuals and perennials in a garden!Rethinking Uses for Annuals.

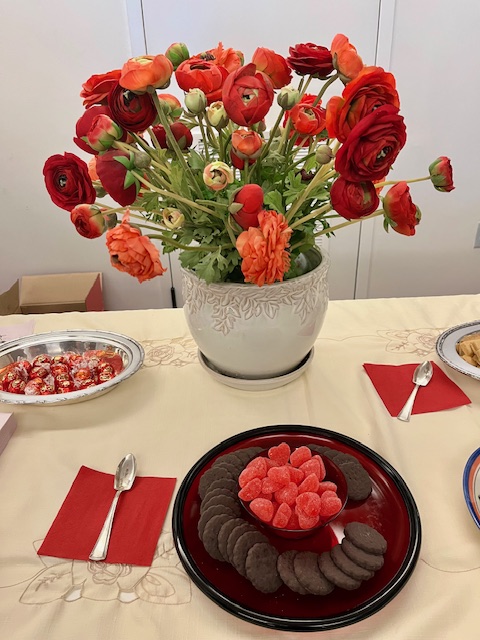
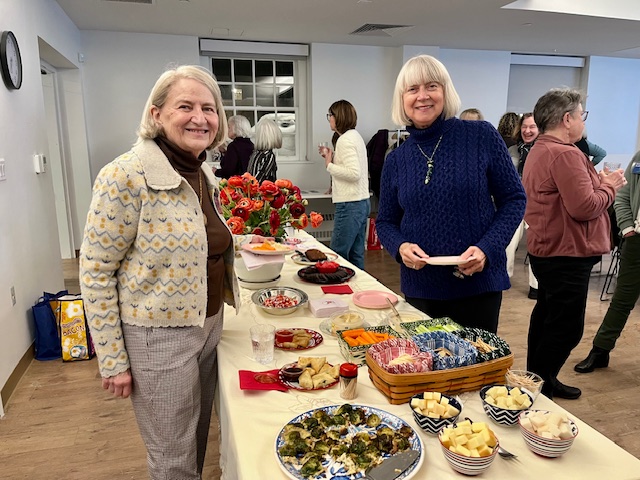
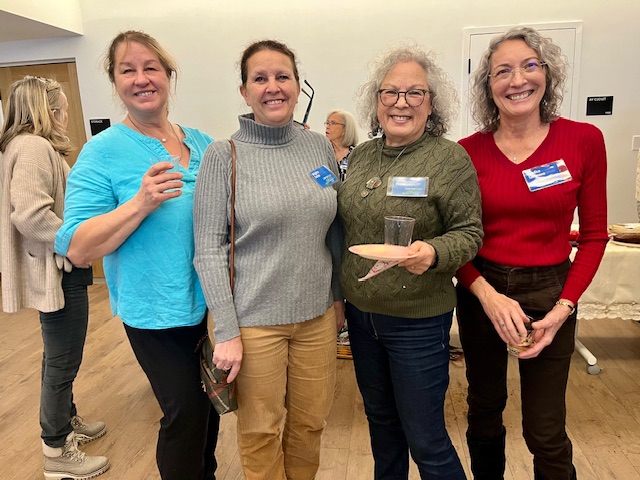
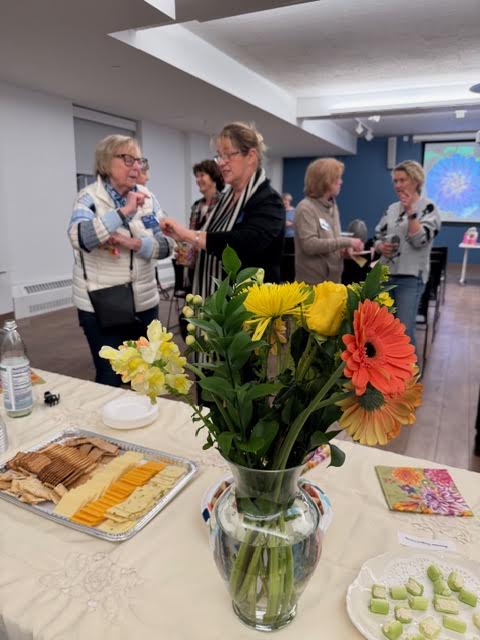
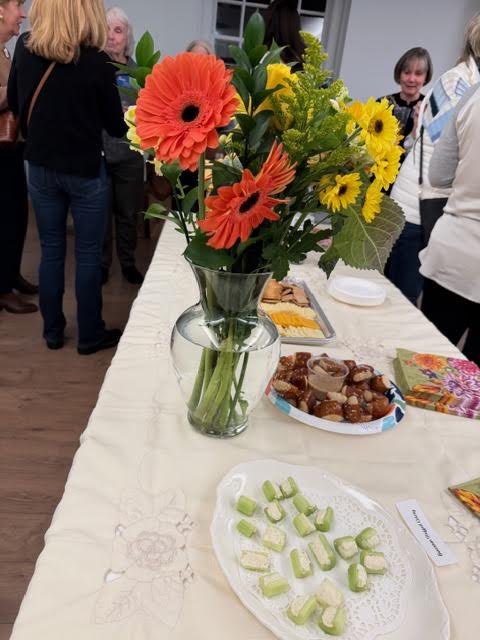
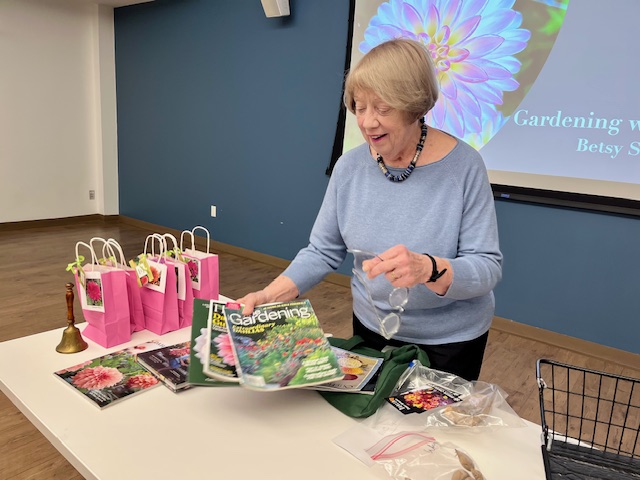
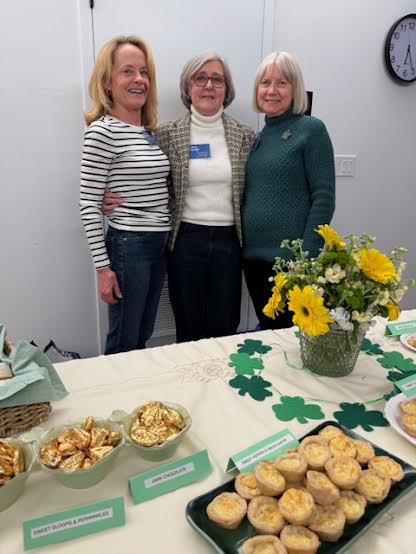
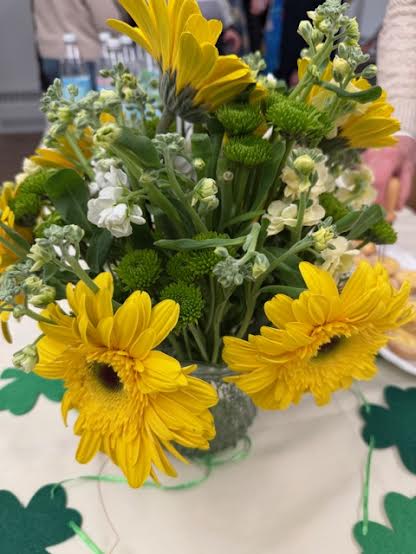
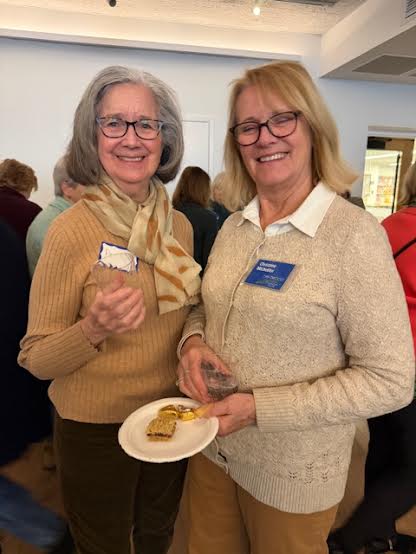
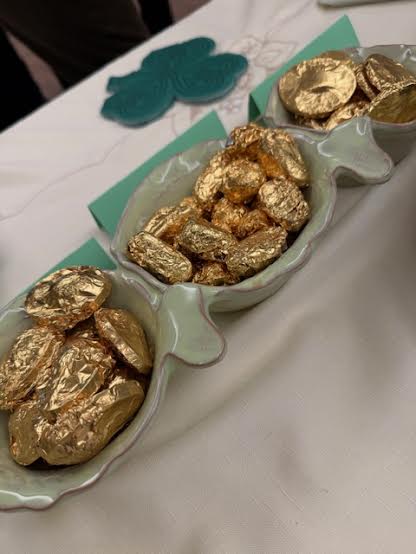
Thank you to our hosts for bringing the luck of the Irish to our table this month! With a bright yellow centerpiece of gerbera daisies, and many delicious snacks, including little pots of gold from Harbor Sweets, we chatted with old friends and new before our program began. I think we all felt spring is just around the corner!

Sally began her program with some history of the explorations in the 19th century to South America and South Africa. Exotic plants were brought back to home countries, and those wealthy enough built greenhouses to sustain the plants. Eventually, these gardens and greenhouses were opened to the public. Examples from this period are The Crystal Palace, Longwood Gardens, and the Isabella Stewart Gardner Museum. In the1800s, public gardens began to emerge as places for people to spend time in nature, surrounded by trees, perennials, and seasonal displays of annual plants. Public gardens also provided year-round jobs for many workers in maintaining the grounds.

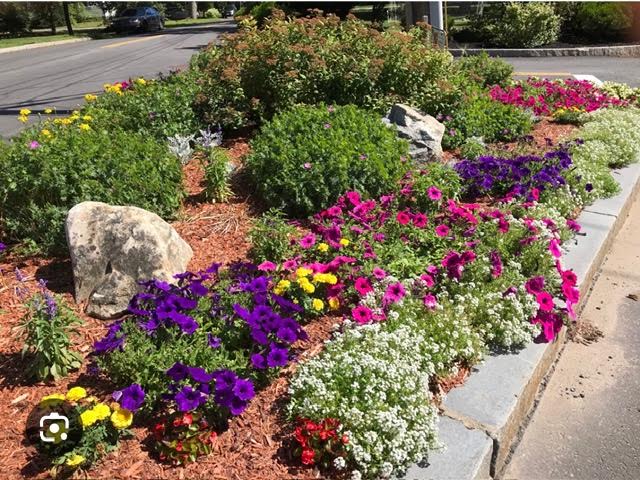
As a landscape designer, Sally developed an interest in overcoming difficult growing conditions such as those in traffic islands. She became a cheerleader for garden clubs that took on the challenge of creating a beautiful spot of living color in the middle of moving traffic and hot pavement. Her advice for success with annuals to those taking on a traffic island or gardeners designing a section of their own garden or a container:

SECRET #1: Supply soil appropriate to the plants, gypsum if the soil is salty, enough water for the plants, and good drainage.

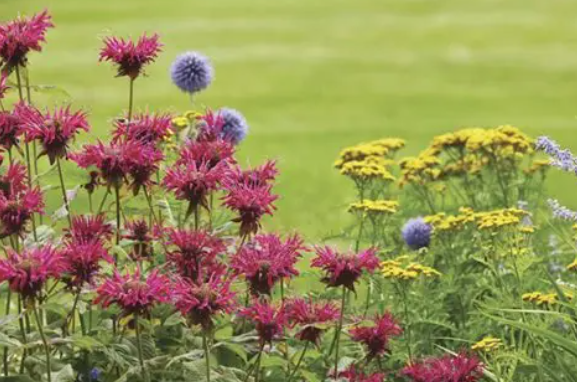
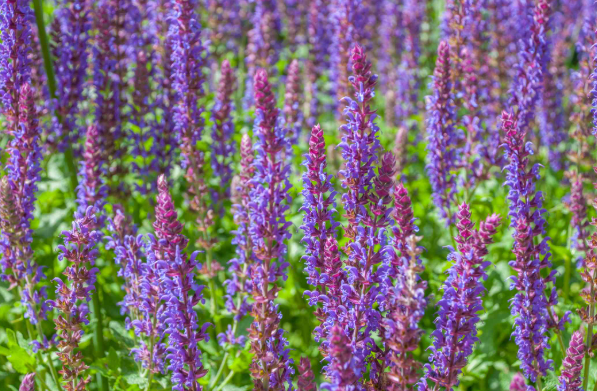
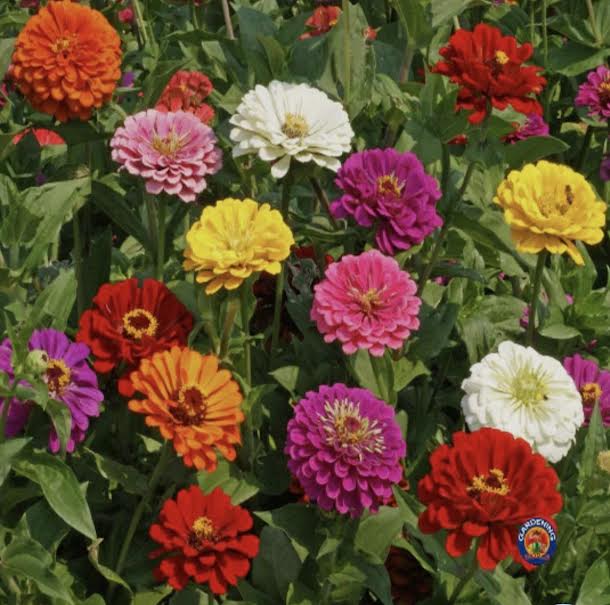
SECRET #2: Include three or four levels of plantings (vary the heights). Some of Sally’s favorites:
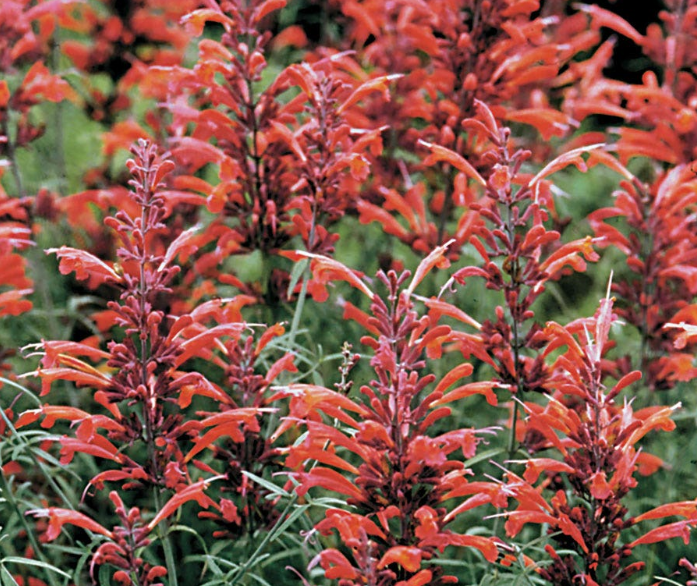
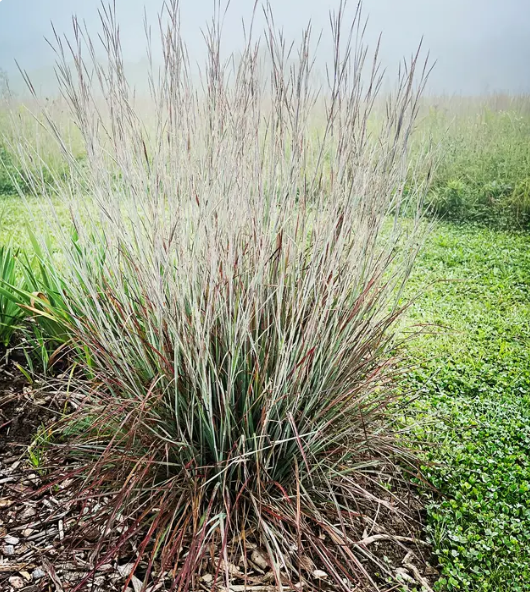
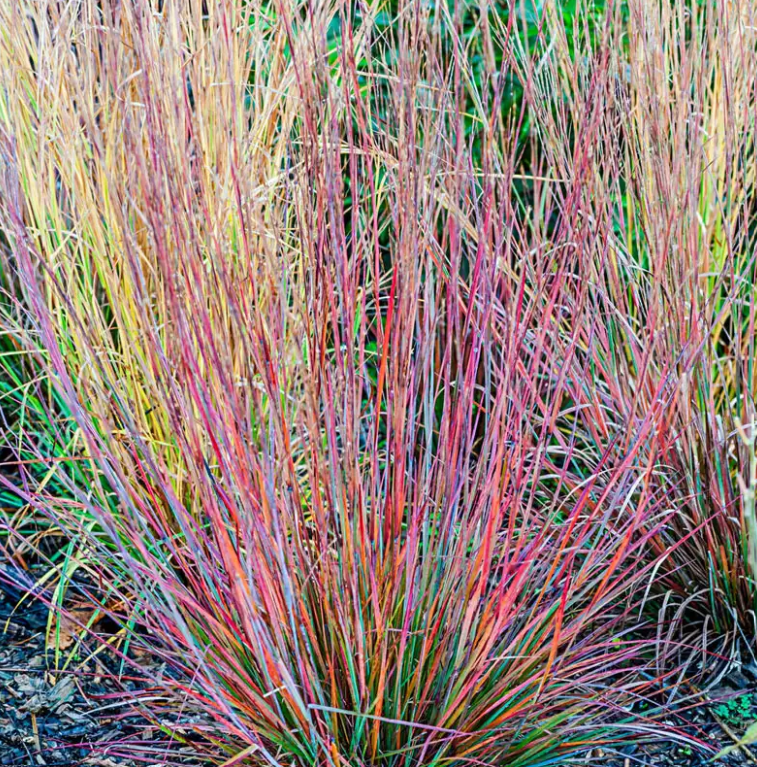
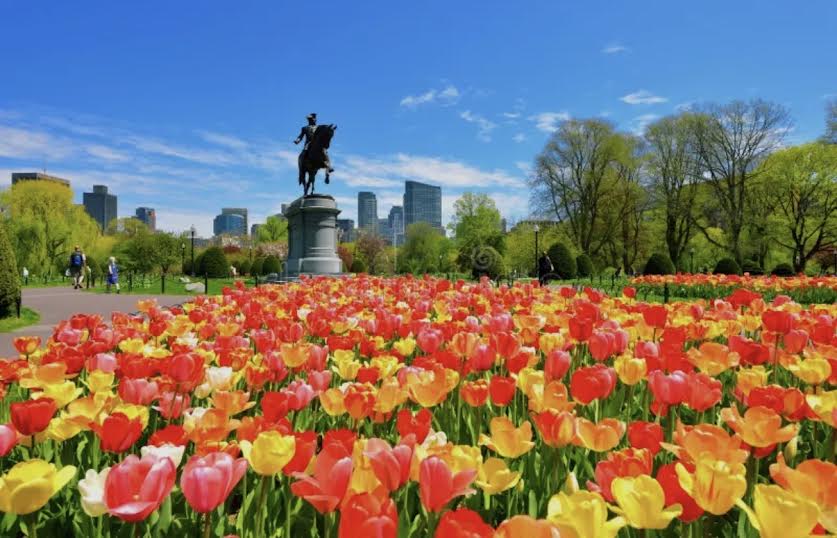
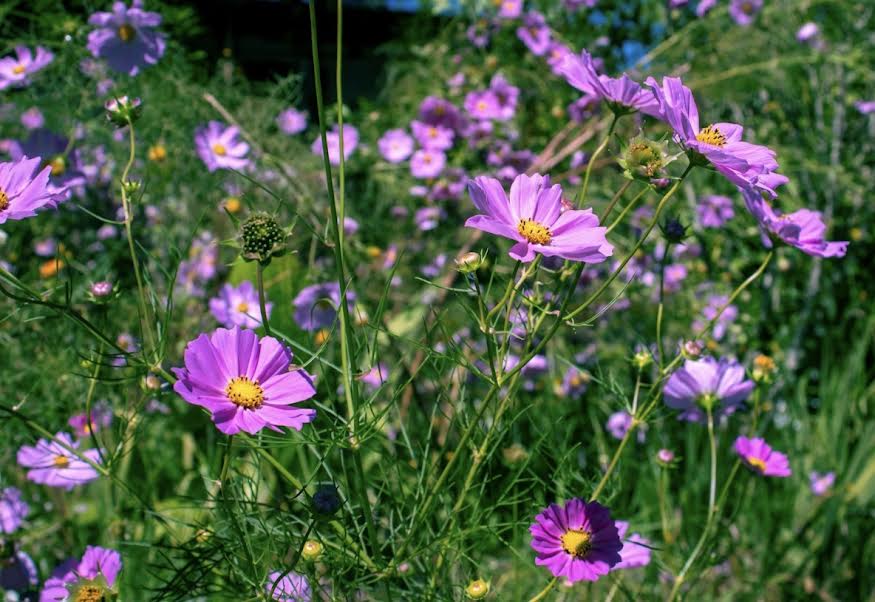
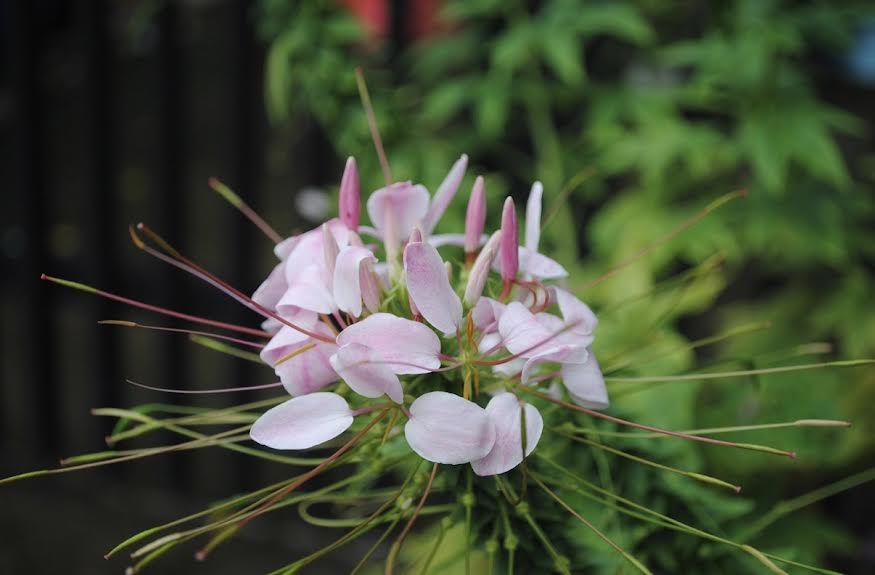
High: cleome, cosmos, verbena, giant zinnias, and grasses.
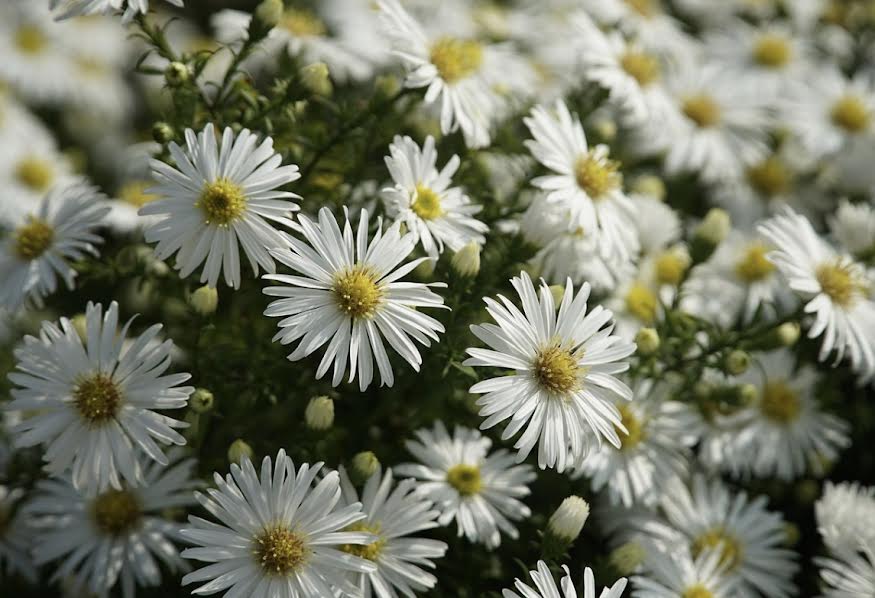
Medium or rounded: asters, chrysanthemums, coleus, lantana, sedum.

Short: ageratum, alyssum, impatiens, lobelia.

Dripping: dichondra Silver Falls, ivy, black or lime sweet potato vine.

 SECRET #3: Acquiring annuals. When acquiring annuals, remember that seeds and six-packs are more affordable than full grown plants.

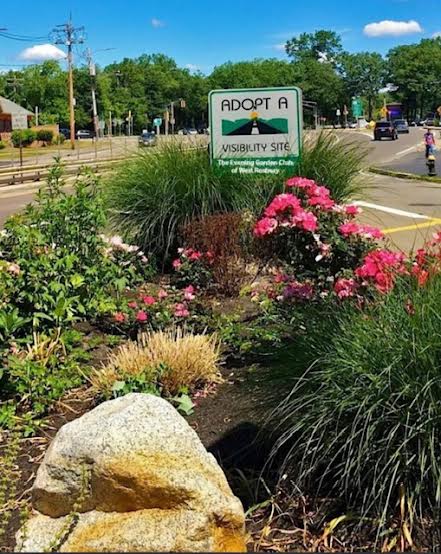
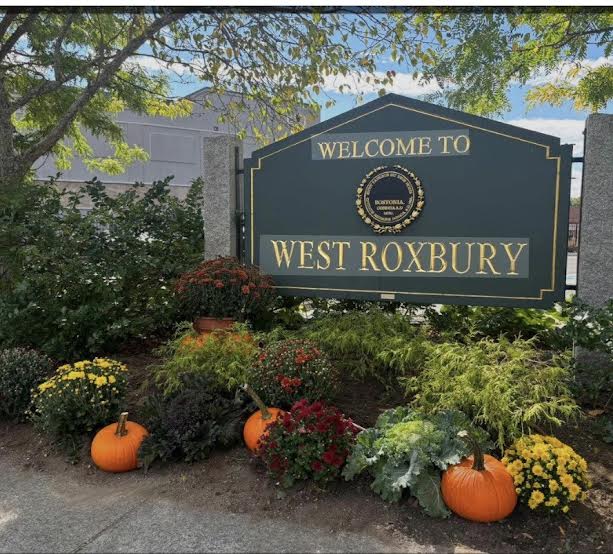
She showed several slides of traffic islands, including one of her own design. She wrote and was awarded a grant from her hometown of West Roxbury to restructure a traffic island which is the first thing people see when entering the town. As a result of this project, she was named Volunteer of the Year by West Roxbury Main Streets.

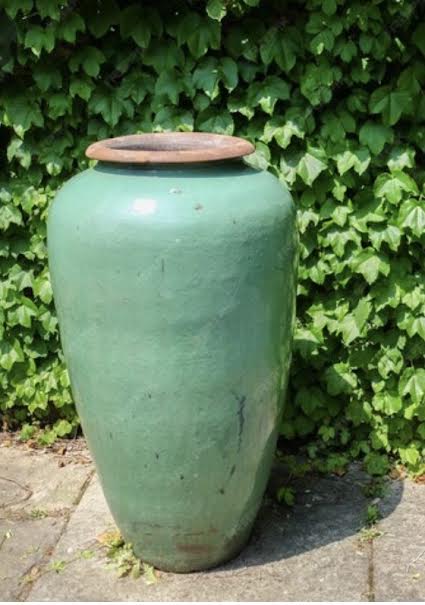
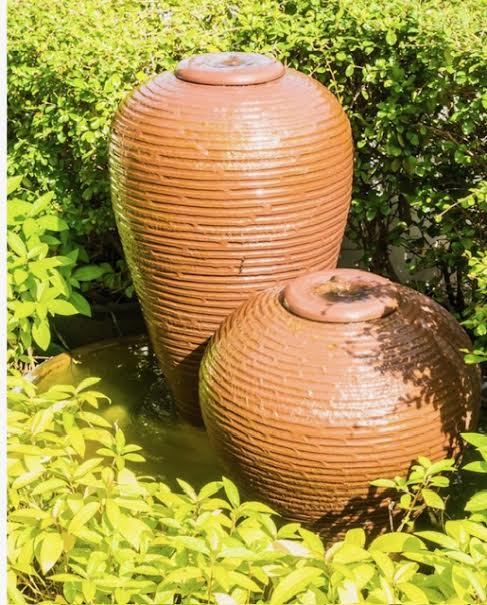
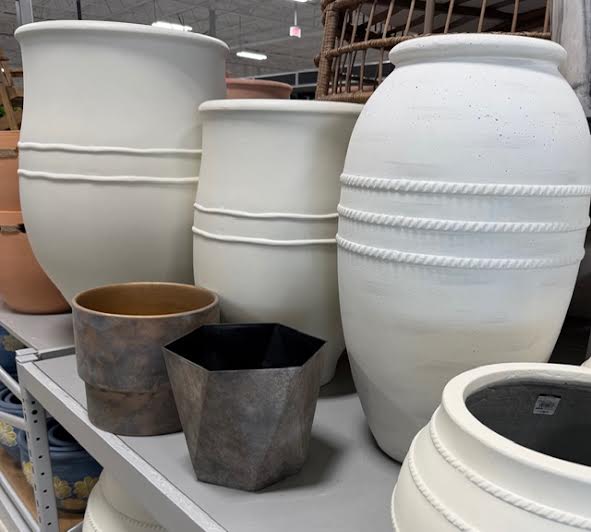
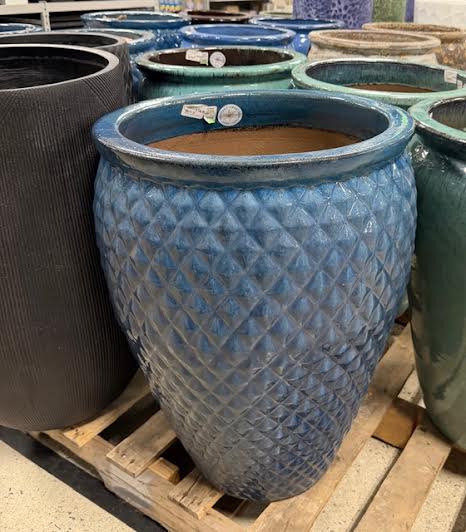
In our own gardens, we can use annuals to add color to different areas, to try something new, or even create an inexpensive rough draft for a future perennial garden by using annuals. And, of course, using planters and pots, whether beautiful handmade ceramic, or lightweight fiberglass that look like concrete, can be welcome additions to our gardens, patios and doorways. Sally’s suggestion was to browse catalogs, make lists of what looks interesting, think of colors that you would like in your garden, heights of the annual, the soil conditions it grows best in, and the plant’s needs for light — then just begin!

Uncategorized

Landscape, Ecology, and Culture!

On an icy winter night, members of the Driftwood Garden Club were treated to an information-filled presentation by Kathy Bradford, principal of Bradford Design Associates. Kathy, also a past-president and long-time member of Driftwood Garden Club, follows an ecologic and science-based approach in her landscape designs. She strives for natural landscapes that provide habitat for wildlife, insect pollinators, and other beneficial creatures.

Benefits of Ecological Design:

  • Resilient plantings thrive with minimum care.
  • Provide environment for animals, birds, and insects.
  • Relates and compliments the environment around location.
  • Complex system modeled after nature, not a duplicate of wild nature.

We learned that Ecological Design is a holistic approach that minimizes negative impacts by optimizing long-term environmental health.

Ms. Bradford is a proponent of plant diversity for stability and resilience. She encourages minimizing lawn areas which require water, chemicals, and weekly mowing to keep them green and healthy.

Driftwood Garden Club members plant in Ecoregion 59, known as the Northeastern Coastal Zone, which spans parts of Rhode Island, Connecticut, Massachusetts, and southern Maine and New Hampshire. This region is characterized by nutrient-poor soils, oak-pine forests, and continental glacial lakes. The terrain consists of irregular plains and high hills, with a humid continental climate that features warm summers and severe winters.

Companion plants in our Northeastern Coastal Zone 59 Ecoregion

  • Bee Balm: highly attractive to bees, butterflies, and hummingbirds.
  • Yarrow: a ‘bee magnet’ that attracts predatory wasps.
  • Purple Coneflower: excellent for attracting butterflies and bees.
  • Salvia: a strong pollinator attractant that deters deer and rabbits.
  • Hyssop: lures beneficial insects and pollinators, particularly hummingbirds.
  • Upright Little Bluestem: provides food for birds in the fall and winter.

Ecological Approach: **Right Plant, Right Place**

  • Select plants according to USDA Ecoregion maps to ensure plants will thrive in chosen location.
  • Select plants based on their mature size and proposed location to reduce pruning and maintenance.
  • Consider the microclimate – amount of sun/shade, salt air, groundwater.
  • Consider deer and rabbit resistance.

Thanks to our speaker Kathy Bradford and all members who attended. This meeting was inspirational as well as informative as we look forward to planning our spring gardening projects.

Notes on Landscape, Ecology, and Culture

Uncategorized

Gardening with Dahlias.

If you can grow tomatoes, you can grow dahlias. Betsy Szymczak

The above quote is from our guest speaker, Betsy Szymczak, who is not only passionate about growing dahlias, but also passionate about educating and encouraging other gardeners to grow these magnificent flowers. Growing dahlias seems a bit tricky for most of us: planting at the correct time, patiently waiting for the blooms, digging up the tubers in the fall, and carefully storing them for the winter. It takes a little work, but by the end of the evening, Betsy made everything sound easy and very much worth the effort.

Thank you once again to our wonderful hosts who set a beautiful table and supplied us with tasty treats. This social hour lets us reconnect with old friends and introduce ourselves to new members before our program begins.

Betsy began her talk with a bit of history and description of dahlias. The dahlia is native to Mexico and is Mexico’s national flower. Although dahlias are not native to our area, they do attract pollinators and that is one reason there may be so many varieties of dahlias. The basic dahlia has eight petals, with either an open center or a closed center. Between humans hybridizing and bees pollinating, there are now about 55,000 varieties of dahlias. One of the many striking characteristics of dahlias, of course, is the vibrant color of each variety. Comparing the colors to the Pantone Color of the year, Betsy showed us pictures of dahlias in Living Coral, Illuminating Yellow, Vivid Magenta, Peach Fuzz, Mocha Mousse and Cloud Dancer (white!).

Most gardeners know that dahlias grow from tubers which store their food and energy. The tuber should have three parts (the tuber, the neck and the crown) in order to grow. Dahlia tubers should not be planted in the ground until the ground reaches 60 degrees. The soil should be well-drained, in an open sunny location (six hours of sun, afternoon shade), and slightly acidic. Plant the tuber 4-6” deep with eyes up. Cover with soil and do not water directly after planting. Wait until after the sprouts have appeared. After the dahlias are established, water with a soaker hose two to three times a week. You will be rewarded well into October for all of your careful tending with magnificent dahlia blooms to use for arrangements or just to enjoy in your garden. About two weeks after a killing frost, the plants will turn brown. Tubers dug too early are still “green” and will not store. Wash dirt from the roots, and allow to air dry 24 hours. Mark your tubers with their name and color and store in plastic or cardboard boxes and vermiculite. Store in a cool dry area (40-50 degrees) until spring.

Betsy left us information for web resources, how and where to purchase dahlia tubers, and contact information for dahlia societies. If you become a real dahlia connoisseur, there is also this website: www.dahliaaddict.com. Good luck and happy gardening!

NEW TO OUR MONTHLY PROGRAMS:

There are two new additions to the DGC monthly program meetings:

— A seed sharing program. Bring seeds to exchange with other members each month

–Donations to the food banks of Marblehead and Swampscott

Uncategorized

Pruning Workshop at Long Hill

It was a chilly, overcast afternoon when our group of gardeners from the Driftwood Garden Club arrived at Long Hill Reservation in Beverly to participate in a pruning workshop. Dan and Melissa, who care for the Long Hill property year round, were our friendly and knowledgeable instructors for the afternoon. They greeted us outside at a work table laid out with various pruning tools.

After an introduction, Dan began his talk with why and when we prune our trees and shrubs. He said to follow the four D’s: if a branch is dead, diseased, damaged, or dysfunctional (a branch might cross over another branch or grow in an awkward position), it is time to be pruned. Then he and Melissa talked in length about appropriate tools and how to use them.

Beginning with an ordinary pair of pruning shears (the blade can be curved or straight), Dan said that gardeners often attempt to cut too large a branch with these small shears, and they can injure the tree by crushing the remaining edge of the branch. He said that trees heal themselves after pruning, but that a crushed edge can impede the healing and even invite bacteria into the tree. Their advice was to not cut anything larger than your pinky finger with the handheld pruner. In fact, he said, trimming flowers and stems of a rose bush is what these pruners should be used for.

The lopper, everyone’s favorite, is another misused pruning tool. Again, gardeners attempt to cut a branch that is either too high overhead (not allowing you to get a good clean cut) or by cutting something too big, thus damaging the remaining branch. Need to cut a larger branch? Use a small pruning saw which can be folded and stored in your garden tool bag. There is even a pocket-sized pruning saw which is very convenient and very sharp. Dan and Melissa also demonstrated how, with a small file, we could sharpen our own bladed tools if we wanted to. Just be careful, and slowly follow the edge of the blade with the file.

The group then followed Dan and Melissa to a large viburnum bush in need of some care. We looked for the four D’s and pointed out some of the branches that could be taken out. Several of our members demonstrated their pruning skills on the viburnum, and it looked much better after being pruned.

We made our way to the lower gardens, taking pruning shears with us, and spent the remainder of our time pruning roses and other small bushes in the gardens. We all learned some new things, refreshed our knowledge of others, and had a wonderful afternoon at Long Hill.